Taking screenshots is an easy way to clearly convey important information you’d like to share. If you’ve been wondering how to make the most out of screenshots on a Windows computer, then you’re in the right place. Here we’ll teach you different options for how to take a screenshot on Windows and help you determine which methods would be best for you.
-
- The importance of screenshots
- Options for taking a screenshot on Windows
- How to use default tools to take screenshots on Windows
- Take screenshots for free using ScreenPal’s screenshots tool
- Benefits of using ScreenPal
- Tips for taking a screenshot on Windows
- Start taking screenshots on your Windows device
The importance of screenshots

A screenshot is an image of your own computer or device that you share with others – it’s a great addition to a presentation, a project you’re working on, or a video to share with your friends. They’re commonly posted on social media, added to videos, and as part of PowerPoint decks. They make it far easier to explain complicated concepts to students, show off product features to prospective customers, and demonstrate techniques during how-to articles.
Options for taking a screenshot on Windows
Computers and devices that run Windows have a number of ways to take, edit, and share screenshots. Personal computers running Windows 10 or Windows 11 have the same tools available to every user, like the Snip & Sketch tool, the Snipping tool, the Xbox Game Bar, and the print screen key. There are also ways to take screenshots on your Windows Surface device using some of the same tools or a handy combination of physical buttons. No matter what kind of machine you work on, you have a number of ways to save images quickly and easily.
If you need a quick, basic screenshot that won’t require much editing, there are native options to help you take a screenshot on Windows. Print screen is a single button that captures your entire desktop – you’ll almost certainly have to trim out stuff you don’t need or want.
If you would like more advanced options for screenshots, or there will be a lot of changes required, there are some more intricate and detailed programs you can use. ScreenPal’s third-party screenshots tool and image editor is in-depth and easy to use, so you can create the perfect image for any project you’re working on, whether it’s for your students, customers, fans, or friends.
How to use default tools to take screenshots on Windows
There are quite a number of ways to take a screenshot on Windows for any kind of project or during any kind of activity. They range from simple and straightforward to complicated and full of features. We’ll run through them all right here so you know what your options are.
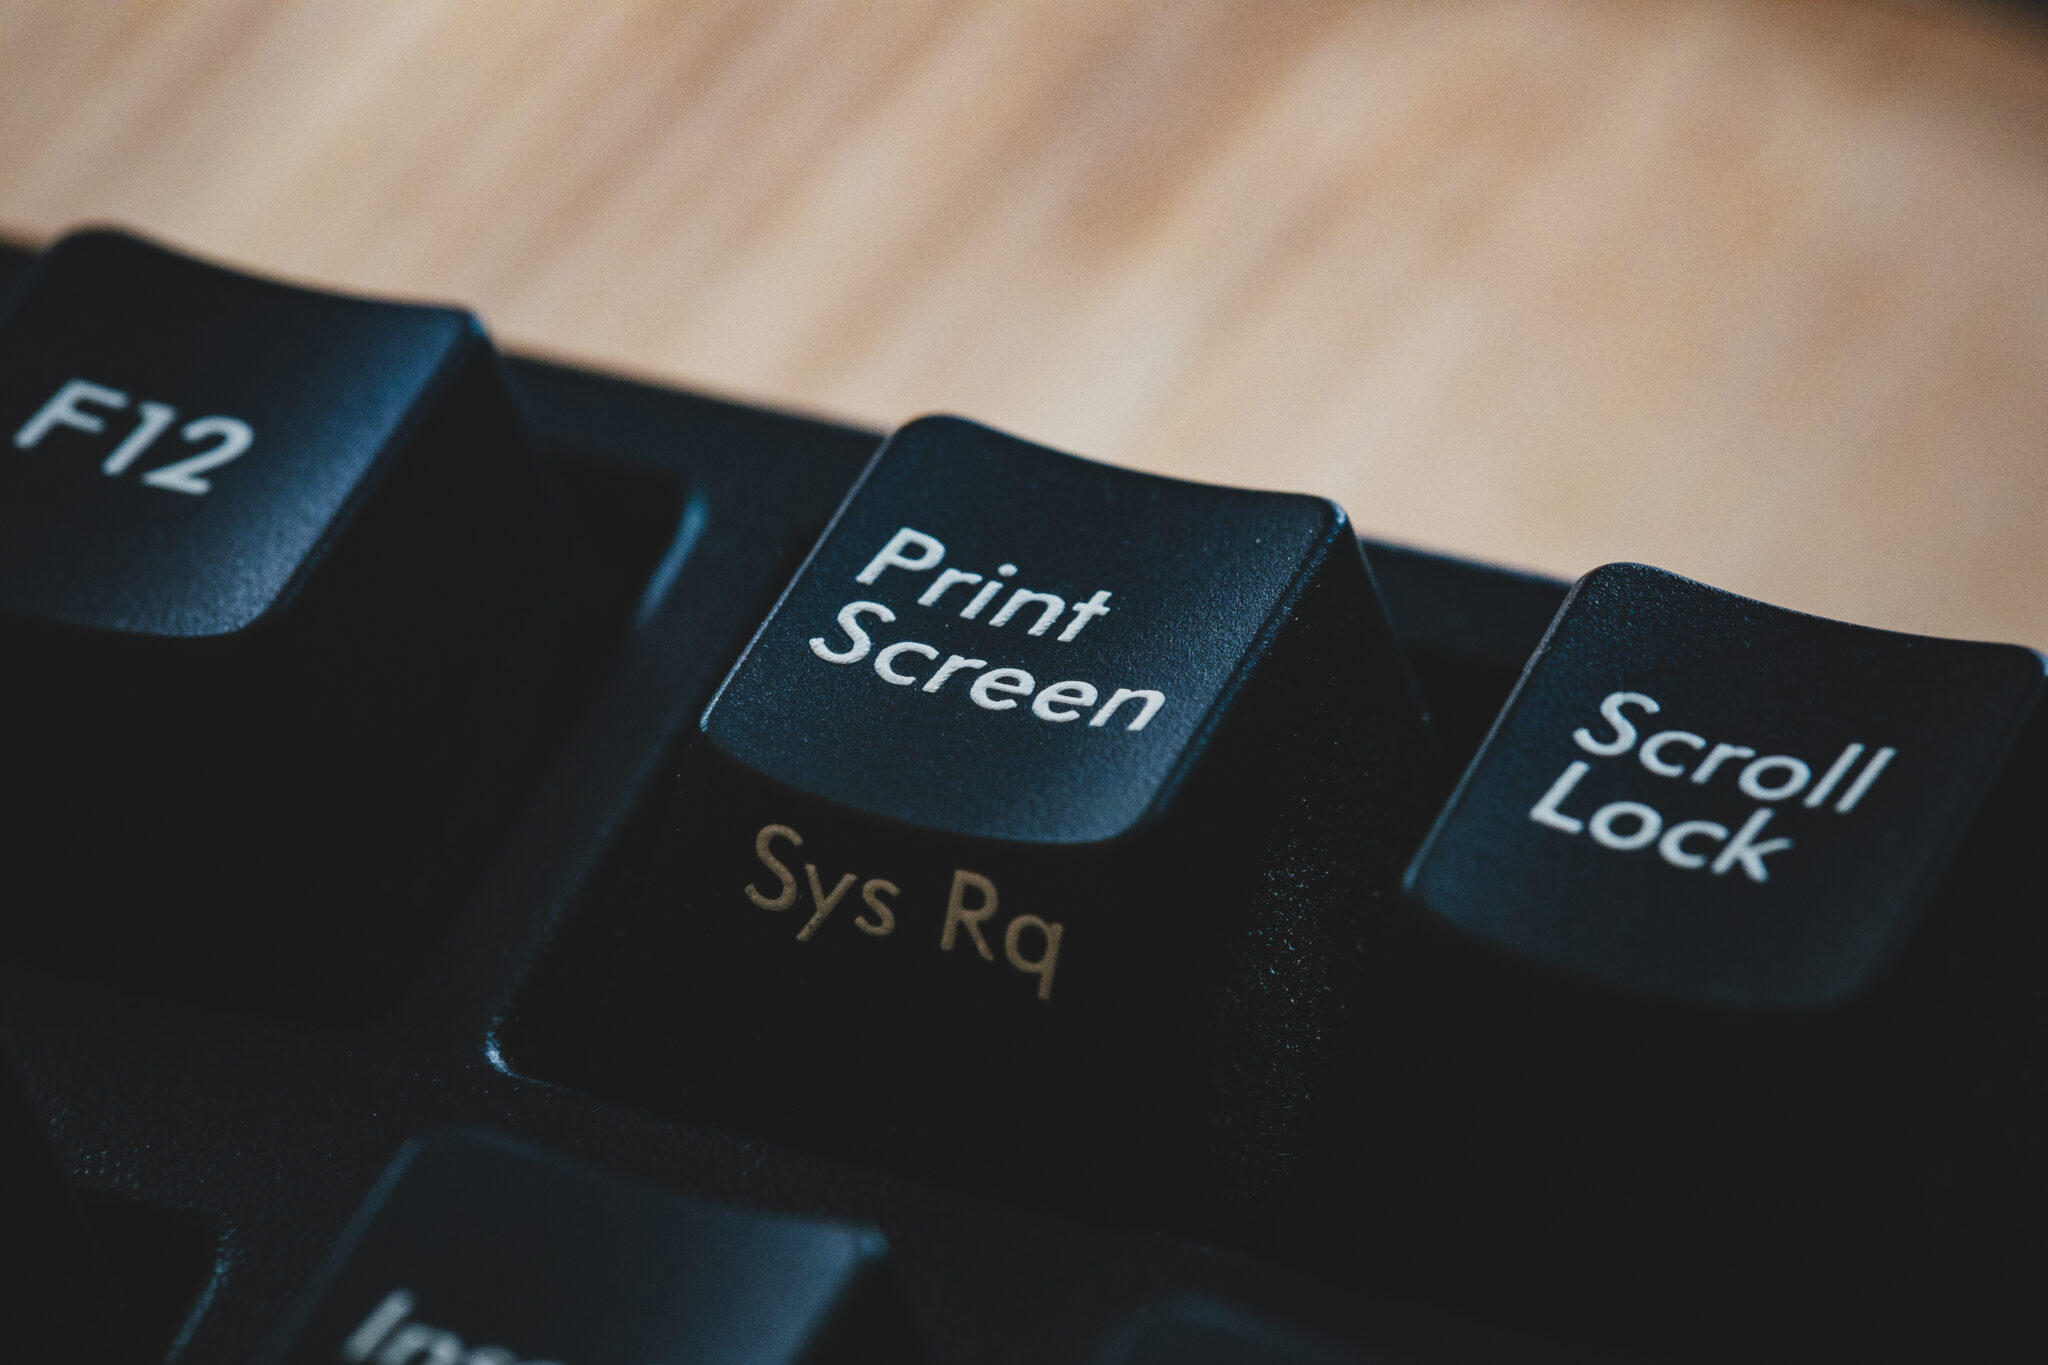
- Print Screen key: A simple way to take screenshots on Windows is to use the “Print Screen” key. Just hit the key a single time and your entire screen will be captured. From there, you can edit, trim, and make changes.
- Xbox Game Bar: Even if you aren’t a big gamer, there’s a good chance that you have something called the Xbox Game Bar on your Windows computer. You can use it to record gameplay footage, take videos of your screen, take screenshots, and more. You can bring up the Game Bar by pressing the Windows Key and G or accessing it from your Windows search menu. The Game Bar will come up on your active window with a Capture box in the upper left, which contains a number of options for recording what is on your screen. All you have to do to take a picture of your screen (not including the Game Bar, obviously) is to click the camera icon. If you want to record your screen to show your loyal fans some new footage, you can click the “start recording” button, which looks like a solid circle. You can take a video of your screen or the game you’re playing. From the same Capture box, you can activate your microphone if you have one hooked up if preferred.

- Snip & Sketch tool: If you want another option to screenshot on Windows 11 or 10, just use the Snip & Sketch tool. As long as you have a mouse and a keyboard, you can take a picture of a section of your screen and immediately copy it to your clipboard. If you hit the Windows Key + Shift + S, the desktop will darken and freeze. From there, you can hit escape to exit or drag your mouse over a section of your desktop you want to copy. You can choose between making a rectangular selection (the default option), a freeform selection, a full picture of a current window, or your entire screen.

- Snipping tool: The Snipping tool has additional features to enhance your images before moving on to the next steps. You can select a delay that waits a number of seconds until the snip is taken. You can also change the size and shape of the snip from a drop-down menu. After the image is taken, you can mark it up with a number of pen color choices. There’s a highlighter to make sure the important information is noticed. If you make a mistake, there’s an eraser to eliminate changes without affecting the original image. Once finished, save the image, make a copy, or send it in an email.

- Taking a screenshot on a Windows Surface device: If you’re working away from the desk and still need to capture images, you can do it on your Windows Surface device as well. Just like on a standard Windows computer, you can search for the Snipping Tool or hit the shortcut of Windows Key + Shift + S. However, these mobile devices have another option. If you press and hold the “volume down” button and the power button at the same time, your device will take an instant screenshot of your entire screen as well. It will be saved to your photos, where you can access and edit them.
Take screenshots for free with ScreenPal’s screenshots tool
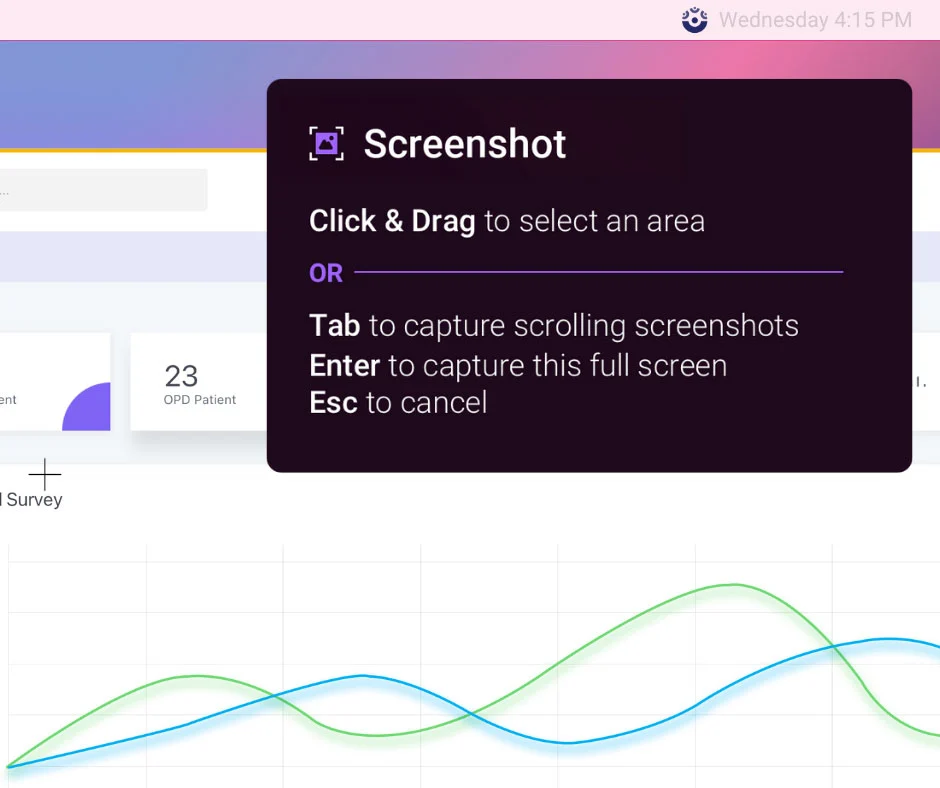
Want to simplify taking screenshots? ScreenPal’s easy-to-use screenshots software gives you more options for your images at the touch of a few buttons. You can easily edit and host images right after you take them, as well as add your screenshots to videos. Easily launch ScreenPal’s screenshots tool from our screenshots page, from your online ScreenPal account, or from the ScreenPal desktop icon if you’ve downloaded ScreenPal to your Windows device.
Features of ScreenPal’s screenshots tool include:
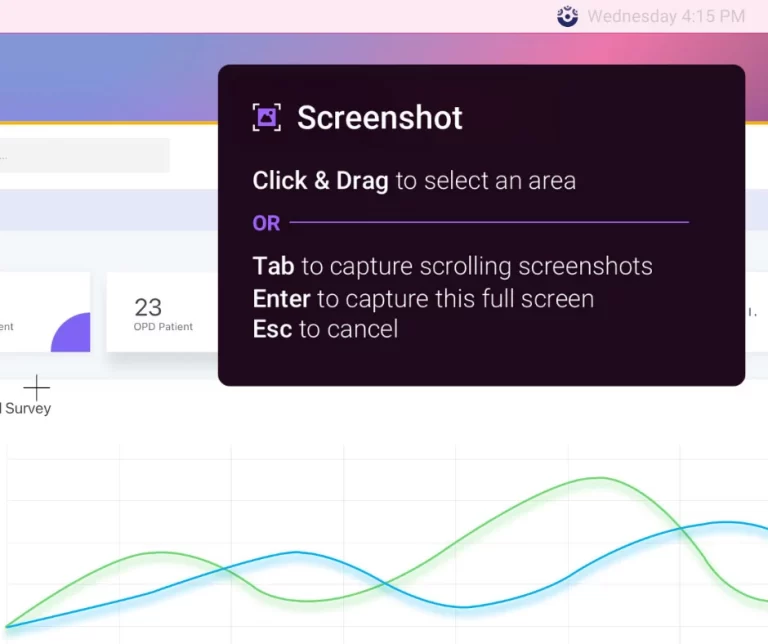
- Capture the information you want – With ScreenPal’s screenshot tool, you can capture your entire screen, just entire window, or drag and drop to select just the portion of your screen you want to capture. You can also take a vertical or horizontal scrolling screenshot to capture larger amount of information that takes up more than just your screen. Any image you take immediately gets added to your clipboard, so you can post it into a project or start editing it right away.
- Image editing – Make sure your screenshots look perfect, no matter what you use them for, with our integrated image editing tool. After you’ve taken a screenshot that you like, dive into the image editor to find plenty of useful features that let you customize an image for your project. Enjoy comprehensive image editing features, including:
- Resize – Resize to change the pixel size of the image – if you don’t like it, you can revert back to the original size in a few clicks.
- Crop – Crop to adjust the size of the image by manipulating its shape.
- Add images – Add multiple screenshots, photos, stock content, and other images in our image editor using the image feature.
- Annotate – Emphasize specific details using shapes like arrows, triangles, or lines, and adjust the size and angle of any of the shapes. There are even different styles, colors, and shadows. Pick basic shapes and equation symbols, or draw freehand. Highlight elements you want noticed, and blur details (with a paid plan) that dilute your message or don’t belong. Add text to make things clearer, or create headers for images. You can even select a custom font color and size, as well as formatting like italics, justified text, and font style.
- Numbered steps – The steps feature lets you guide viewers through the different parts of your image.
- Recognize text – If you capture a screenshot that includes text, you can easily recognize and edit the text within the screenshot using the Recognize Text feature in our image editor. Simple drag the selection box around the text you would like to edit, and then our OCR technology will convert it to an editable text field.
- Save & share – There are publishing options right on the editor page, making each screenshot simple to save, upload, host, and share with others.
- Easy shortcuts – If you have a specific workflow, set up unique shortcuts inside ScreenPal. If you want to take screenshots or launch our tools at a moment’s notice, you can set up easy shortcuts that work best for you. A Windows screenshot shortcut keeps your workflow proceeding smoothly, and you can customize them, too. With them, you can start a screen recording, take a full screenshot, or take an image of the active window.
- Collaborate – No matter where you work, the rest of your team can access your new screenshots when you have a team ScreenPal plan. By uploading your images to ScreenPal’s free image hosting account, you make it easier to share and collaborate with your team, keep projects organized, and more. Share images in a variety of ways, such as creating a direct link, a custom link, or an embed code. There are also quick share buttons for connected services like email, social media, and productivity tools. You can also drag and drop images into folders to keep your projects organized and heading toward completion.
Benefits of using ScreenPal over default Windows tools
Basic screenshots tools available on Windows can let you capture your screen, but ScreenPal lets you take screenshots to the next level, as well as provide a wide range of other content creation features for a full end-to-end solution. With ScreenPal, you can enjoy:
- Advanced screenshots features – Take advantage of ScreenPal’s wide selection of easy screenshot and image editing tools to enhance your content. You can use ScreenPal to capture, edit, highlight, blur private information, add it to videos, and more. It also makes sharing your images easier thanks to the built-in sharing options that let you send them right to social media platforms, organize them in folders, or share them with your team.
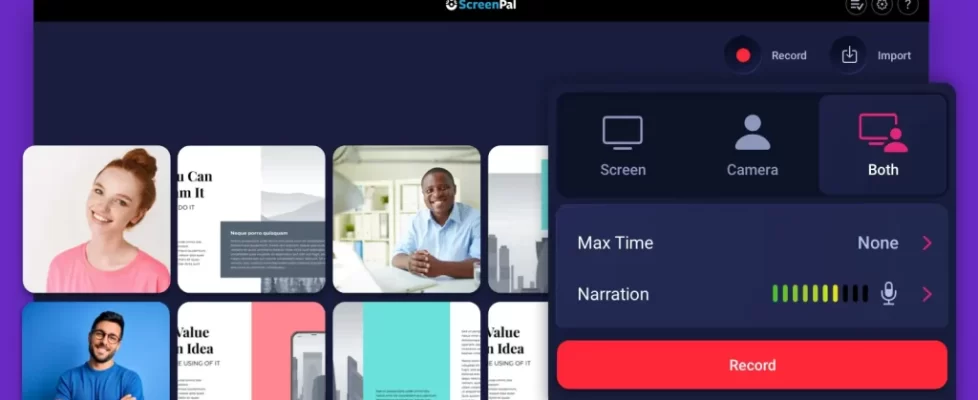
- Record your screen – In addition to our screenshots tool, a free ScreenPal account also includes a screen recorder, which lets you easily capture your screen and webcam. You can record using your screen, your webcam, or a combination of both – and then, of course, add some of your screenshots. Interested in learning more about pulling off the perfect screen recording from Windows? Check out how to screen record on a Windows to create stunning videos using screen recordings.
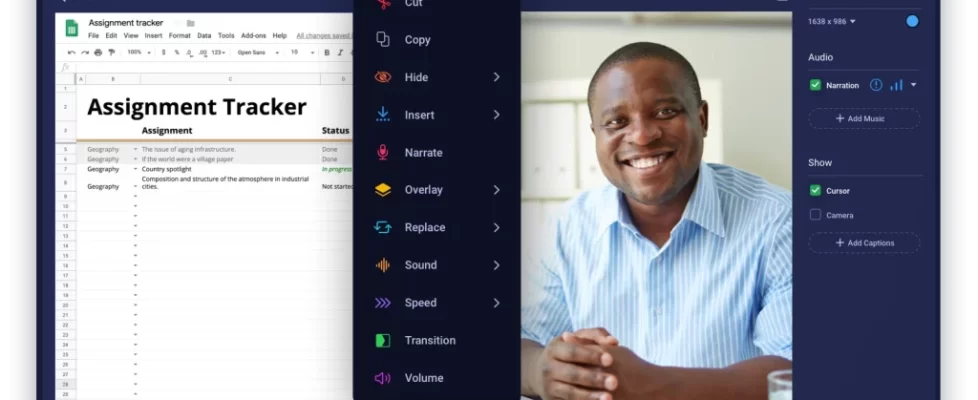
- Add screenshots to videos – There is even a fast, easy way to add your screenshots to your videos with our video editor. Capture and save your screenshot with our screenshots tool. Then, in ScreenPal’s video editor, go to tools, then pick overlay image. You can choose from your library or a number of other places, or you can just select “use image copied to your clipboard” to use your last screenshot. Adjust your screenshot size, place it in the proper spot, determine exactly how long you want it on your screen, and more.
- Edit videos – Create videos and enhance your recordings even further with the help of our free video editor. Crop, resize, add visual effects, edit audio, and more to create engaging content. Convey complex information even easier with a video.
- Host content – Upload and host your images and videos on ScreenPal’s free hosting platform to easily management and share your content with others. Enjoy a wide range of features, including password protection, channels, titles and descriptions, embed code, share links, and more.
Tips for taking a screenshot on Windows
- Make sure the content is visible: The first step for making sure you have the best Windows screenshot possible is to ensure all the relevant content you want is easily visible in the screenshot. All relevant windows need to be visible and unobstructed, with the proper information as centralized as possible so that viewers understand what the focus of the screenshot is.
- Keep your screenshots simple: While you need to have your relevant information visible, you also want to hide info that might distract or dilute your screenshot’s message. This can include browser tabs, taskbar icons, desktop icons, the time and date, and other windows open on your computer. This allows the information you’re presenting to have one hundred percent of the focus.
- Remove personal information: Hide or obscure any personal information in your screenshots that you wouldn’t want to share. This can include your personal email address in the browser bar, your browser tabs, or communication services like Slack. There also might be images on your desktop, emails, file folders, or information from other projects. Basically, if it isn’t exactly the information your presentation needs, consider removing it.
- Keep your screenshots organized: The Windows screenshot tool saves images to your desktop by default, but saving everything there can create a lot of clutter. It’s easy to change the default location to a file folder such as your images, but you can also designate specific folders to make organization even easier. Using ScreenPal’s tool, you can organize your images inside our free hosting service to access them from anywhere.
- Use annotations for increased clarity: Even if you’ve removed everything you don’t need, there can still be a lot of information on a screenshot. Before sharing with others, add highlighting shapes, arrows, and text to make the information as clear as possible
- Add personality: Not every screenshot can incorporate your personality or branding, but there are ways to customize and create memorable content for many images. This can include anything from incorporating company logos, color themes, annotations and more, which are simple to add using our image editor.
Start taking screenshots on your Windows device
Taking screenshots on a Windows device is simple and straightforward. But if you want advanced features, such as the ability to crop, obscure or blur elements of your image, or use additional advanced editing tools, you can benefit from ScreenPal’s screenshot tool, and other content creation tools, to help take your project to the next level. Get started with our screenshots tool today!


